How to use Evolve for usability tests
Evolve is a great tool to help you get the most out of your usability testing sessions. This guide outlines how you can use Evolve for this specific methodology.
Setting up your project
The first thing you need to do is set up your project and name it something appropriate, such as “Project name: Usability testing Round 1”. Obviously you would put whatever round of research you are conducting.

Adding your first participant
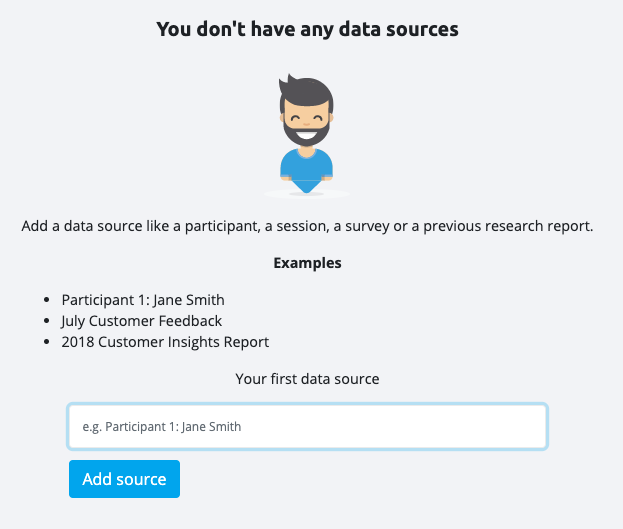
The next thing is to add in all your participants. In Evolve we call each participant s “Source”, i.e. a source of data.
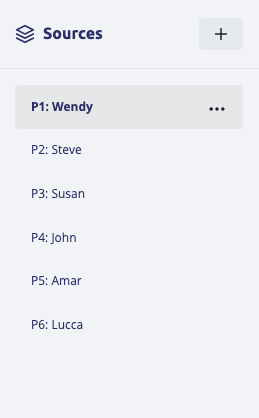
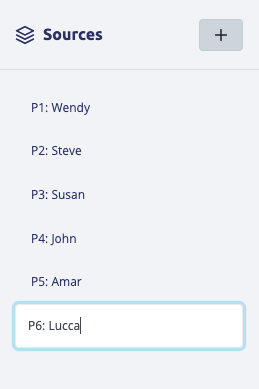
In the capture notes section, add your first source by typing something like “Participant 1: John” (or whatever their name/id is).
Once you have added your first source you can continue to add all of your participants a you need.
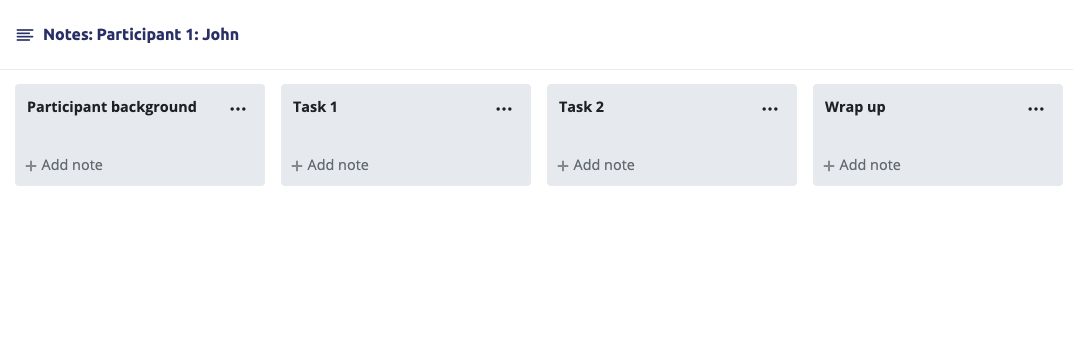
Setting up how you’ll organise your notes
For usability testing there are typically a few sections in your moderators guide. An example of sections might look something like this:
- Intro/warm up
- Participant background
- Task 1
- Task 2
- And so on…
- Wrap up
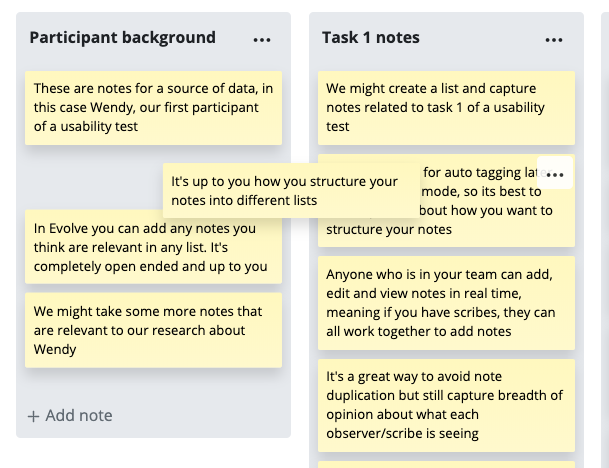
In Evolve, you can add these as note list headings so that notes you capture during your sessions by note takers are nicely organised to help you with synthesis later on.
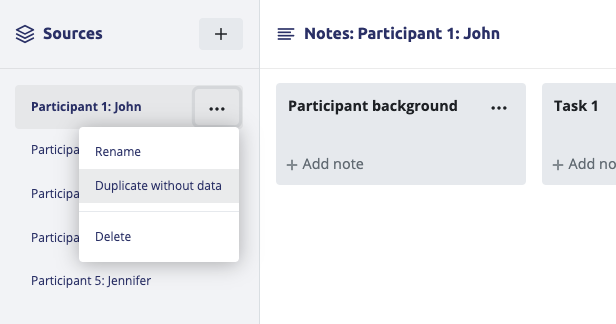
Adding your other participants
Once you’ve set up how you’ll capture notes for our first participant, you can easily duplicate the structure for your other participants. You right click on your the first participant we just set up and click “duplicate”. This will clone the participant, but without any notes, just the headings. You can then rename the participant to whatever you need.
Capturing notes during a session
Once you’ve set everything up you’re good to add notes. If you’re adding notes during a session with the help of a scribe or multiple scribes they simple click “add note” and type away.
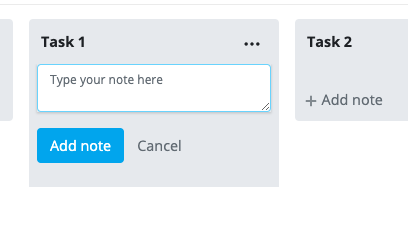
Note takers can press “enter/return” to add the note and continue typing to avoid having to use the mouse and miss the moment.
If note takers are taking notes via a streaming link, Evolve can be shrunk down and placed next to the video stream so note takers can watch and take notes at the same time! We designed evolve to work in a narrow format.
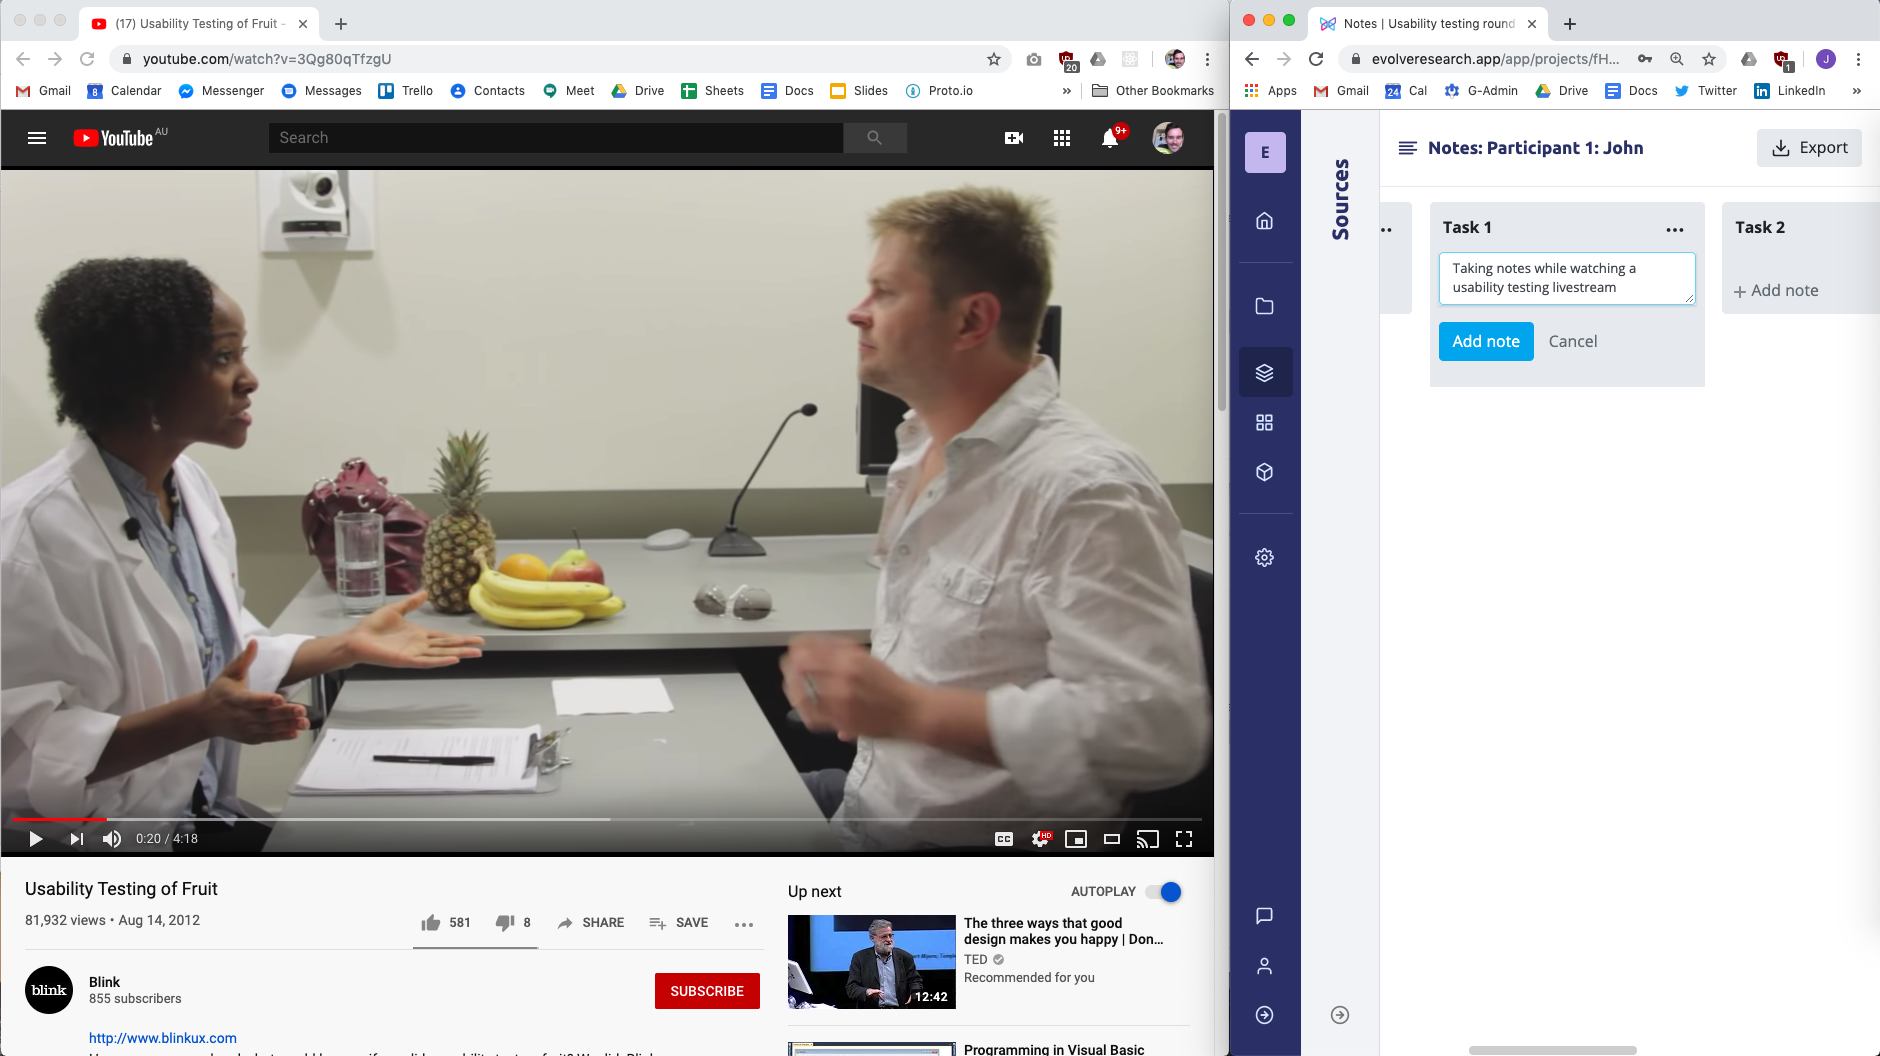
Evolve works in real time so each scribe can see when notes are added to avoid duplication.
Having multiple note takers in your team
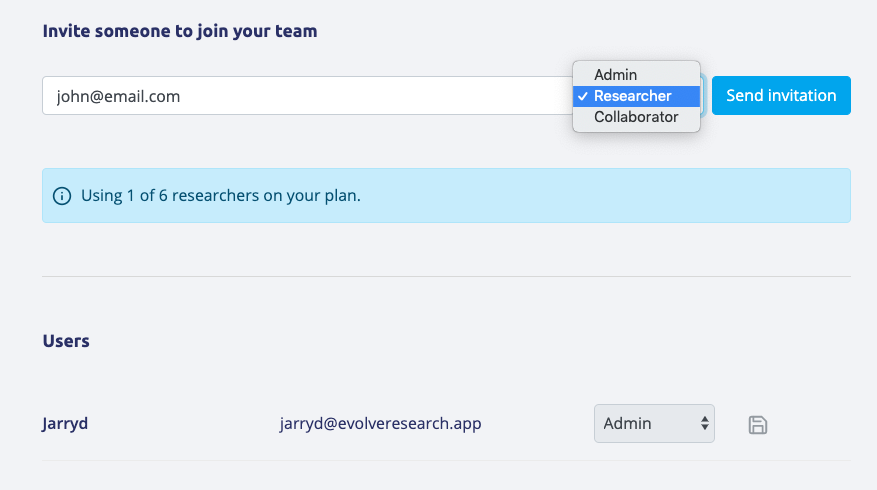
If you have people from your team helping you take notes during your sessions you can add them to your team so everyone can contribute in real time.
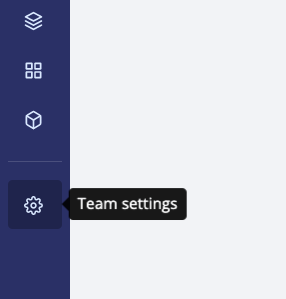
You can add additional researchers to your account from the team settings page.
Once they have accepted their invitation they’ll be able to add notes under the headings you have set up from their own account.
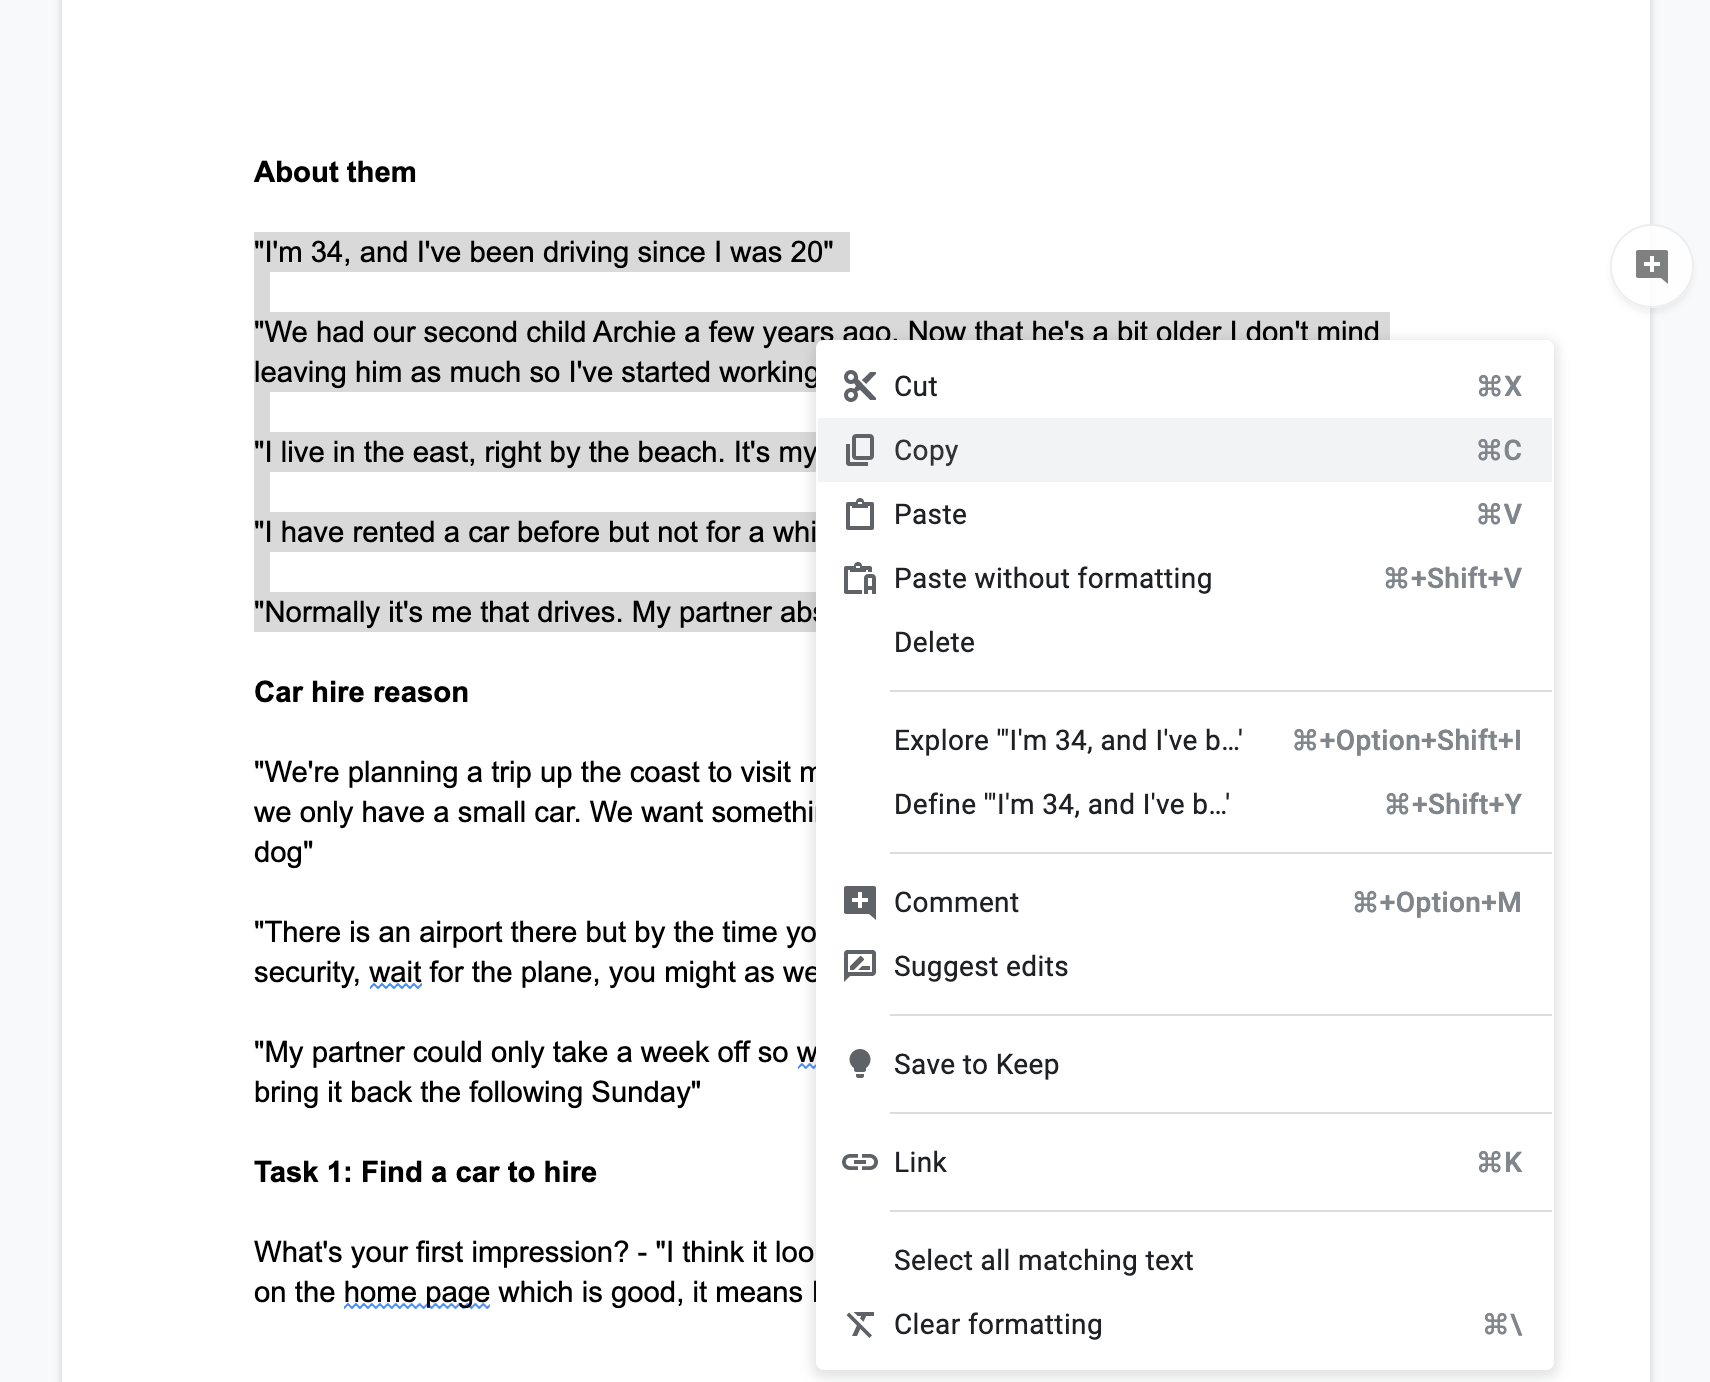
Adding notes after a session
If you are adding notes after a session such as while you are rewatching session recordings, or from a transcript you paid for like with Rev, it’s easy to copy and paste the notes into the relevant list. Evolve will copy-paste in text as separate notes so long as there are line breaks, for example:
This will be one note
And this will be a separate note
Moving notes around
If a participant says something out of sequence, it’s easy enough to drag and drop notes from one list to another. This way you can quickly put stuff where is needs to be, helping you later on in synthesis
One final tip on note taking
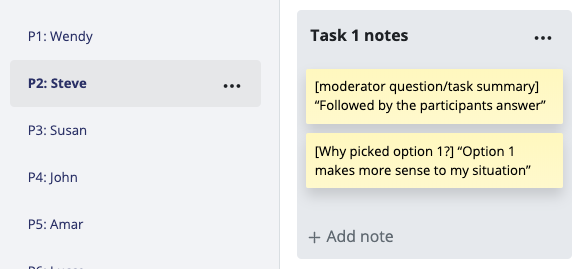
One thing that can really help with context is to summarise the moderator question in the same note card as the respondents answer/actions. To do this, at the start of the note card, for example:
[moderator question/task summary] “Followed by the participants answer”
[Why picked option 1?] “Option 1 makes more sense to my situation”
If you keep this up, you’ll find synthesis much much easier later on as you’ll have more context of probing questions the moderator asked.
Synthesising your notes
Once you have added all your notes into sources in Evolve you’re ready for synthesis. From the project hub, click on “synthesise notes”.
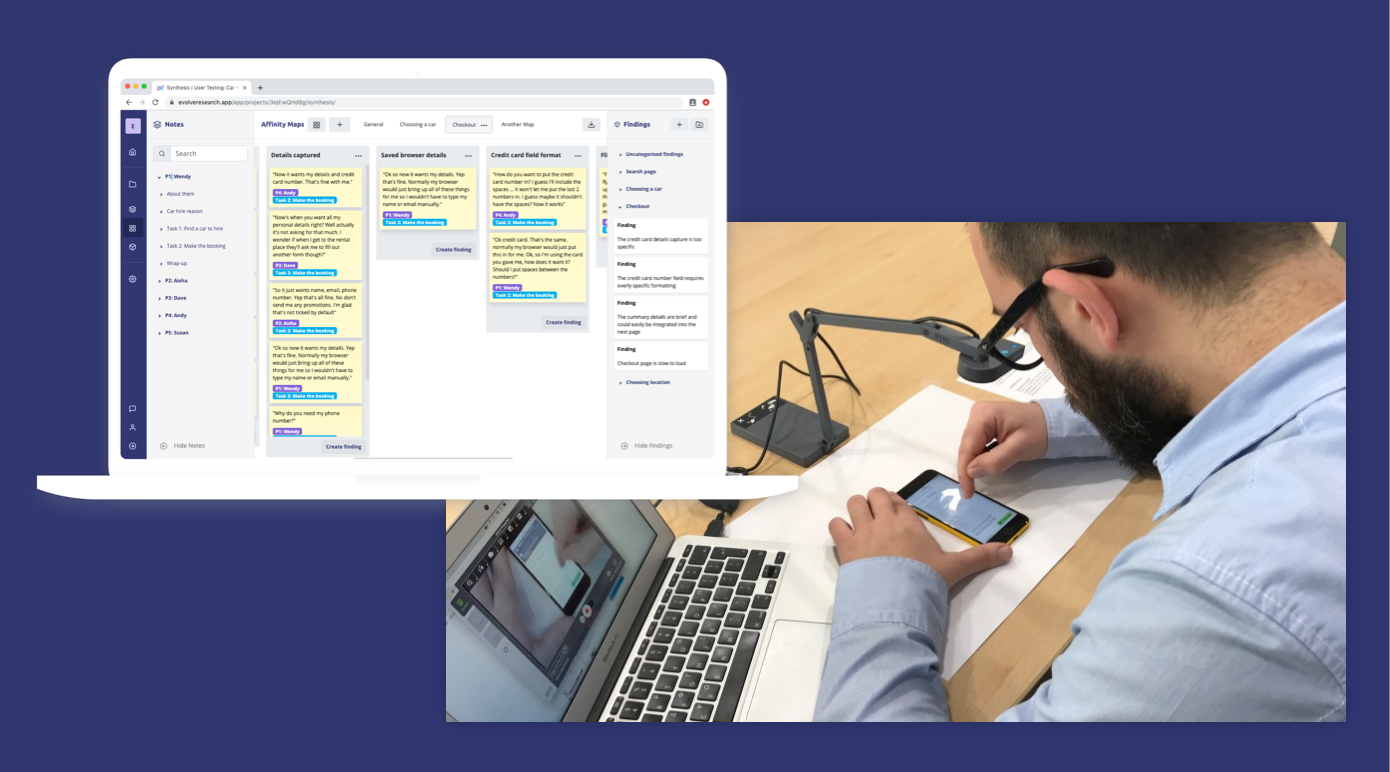
The synthesis view has three main areas:
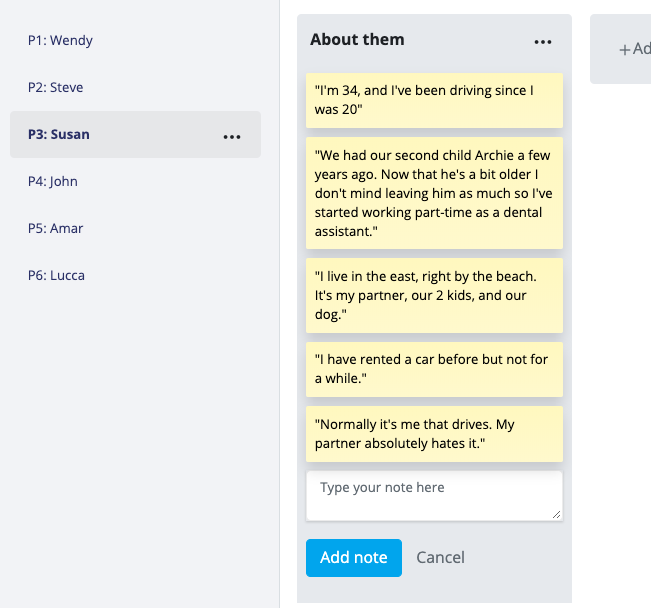
- Notes, left side panel - all the notes you added organise by participant and the structure you captures notes in, ready to drag and drop into your affinity map area.
- Affinity maps, middle area - Build out affinity maps of themes/groups of related notes
- Findings, right side panel - Build research findings with linked evidence from either the notes panel or your affinity maps
Creating affinity maps based on tasks/mod guide sections
First things is to set up your affinity maps. To do this, click the “+” button to create a new affinity map.
Name your map whatever makes the most sense
For usability testing, we find it most useful to create different affinity maps that correspond to sections in your mod guide, for example:
- Participant information
- Task 1
- Task 2
- etc.
- Wrap up / overall
This will help you create focussed work spaces as you organise the notes you captured and also make it easy to use the notes panel on the left to find the relevant notes for your map.
Building out themes
To create themes simply drag notes from the notes panel into a theme list in the affinity map area.
Sometimes we might name our themes in advance with something broad, such as “pain points”, “expectations”, “Bits they liked/that worked” and add notes accordingly.
Other times we may opt to drop notes into un-named themes and once we have enough notes, name the theme.
It really up to you how you do this which makes the most sense.
Creating research findings
As you build out you themes you may wish to create a finding with the linked notes as evidence. This is easy in Evolve and means you won’t need to hunt around for quotes and linked evidence ever again. In the findings panel, click the “+” button to create a new finding.
Then drag and drop the relevant notes into the linked evidence section.
Once the notes are linked, name your finding.
You can also add additional details to your finding, such as a more detailed description, recommendation ideas, and a topic/theme to group the finding with other related findings.
Building findings instead of themes
For usability testing a faster way to generate findings is to build them out visually in the affinity map. To do this, simply drag and drop relevant notes into an empty list and build out a relationship/group of notes.
Once you are happy you have a group of notes that represent a finding, name your list. In this case you would write your finding, e.g. Customers struggled to checkout because the CTA button is not obvious enough”.
Then, simply click the “Create finding button” at the bottom of the list. This will convert this into a finding in your findings repository and give you the chance to add a description and recommendation.
Working with hypothesis’
You may have planned out research hypothesis’ for your usability test and are wondering how you can use Evolve to help you validate each hypothesis.
An easy way to do this would be to create two theme lists for each hypothesis. One in favour of the hypothesis, and one against it, for example:
- H1 For
- H1 Against
Then simply drag and drop notes into the corresponding list. Once you have added all your notes you should be able to see why/why not you hypothesis may be valid/invalid from the notes added to each for and against list and create your finding from the create finding shortcut button.
Organising your findings
Evolve lets you organise your findings by different themes or topics. For usability testing, you would most likely organise your findings by something like task.
To do this, simply click the “New finding topic” button and give it an appropriate name.
You can then select this topic from the topic dropdown inside of each finding to group them under this topic.
Sharing your findings
Once you have created your findings you may want to share it with your team. Evolve has a basic presentation mode. You can access it by clicking the “View findings” card from the project hub.
This view is similar to something like powerpoint and google docs, however has all the findings and linked evidence there ready to go as you play back what you learned to your stakeholders and team.
You may also wish to create a separate presentation outside of Evolve. It’s easy to simply copy and paste all the content for each finding into powerpoint or google slides giving you all the data in one place, without repeatedly having to copy and paste everything.
Conclusion
That’s a look at one way you can use Evolve to supercharge your usability testing powers as a UX researcher/designer. There may be other interesting things you can do with it that we haven’t thought of as well! If you haven’t tried Evolve yet to help you with your ux research projects we would love for you to give it a go and let us know any feedback!
Back to help center