Creating & managing projects in Evolve
How to use Evolve projects in your UX research process
Projects in Evolve
You can use Evolve projects in a few ways that hopefully fits into your UX research processes and practice in your organisation. Evolve was built to be open ended so you can define what does and does not constitute a project depending on your organization's needs.
For example, in Evolve you could treat each study you run as a separate project, i.e. Usability testing round 1, customer feedback survey wave 3.

As an alternative, you could also use projects as a way to manage all research studies related to a particular initiative you are working on. For example, you need to redesign the check out experience for an e-commerce site. You do a few rounds of usability testing and follow up customer feedback surveys after orders. You can add these as different data sources in Evolve under the same project, meaning your synthesis can take into account data from all these sources.
Creating a project
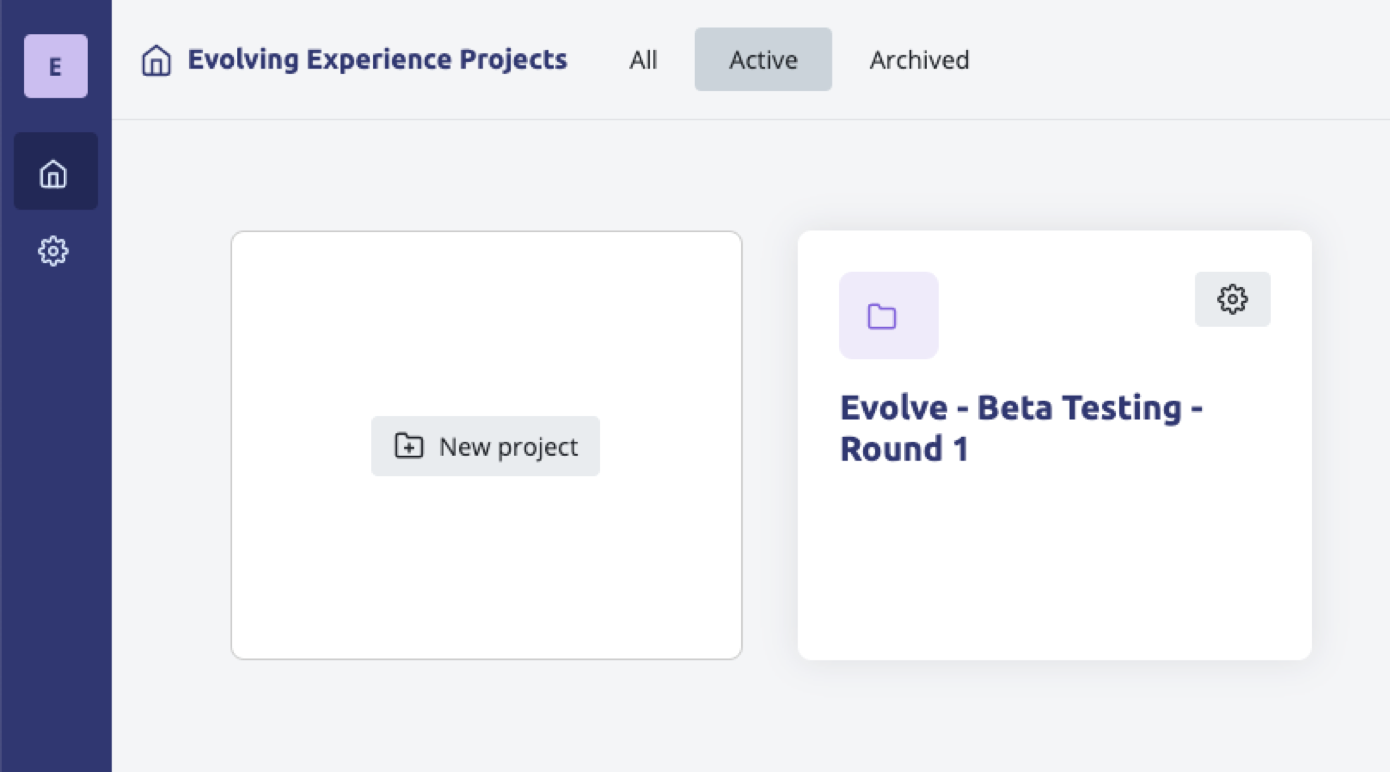
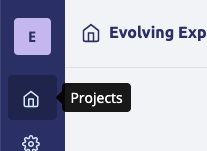
To create a project in Evolve, navigate to the home screen of your organisation
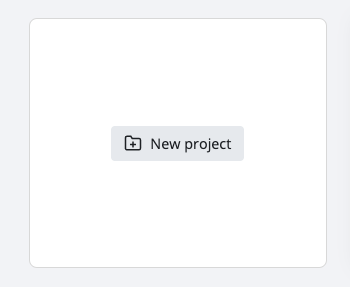
From your organisations home screen, click the ‘new project’ tile
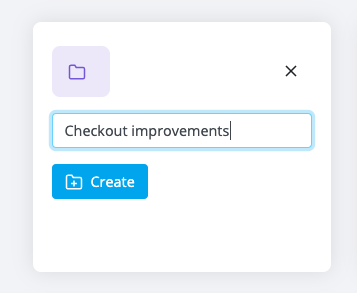
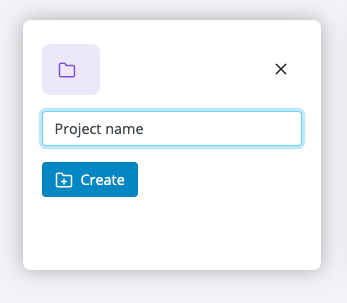
Type a name for your project and then click the ‘create project’ button.
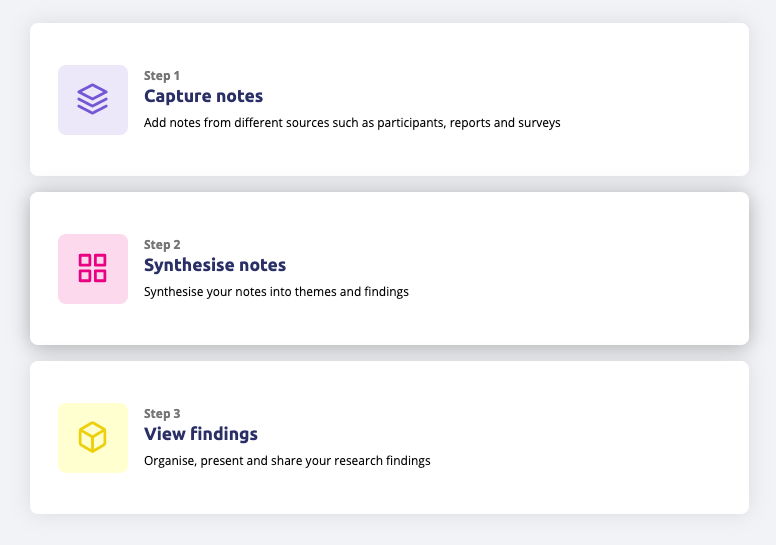
Evolve will then take you to the project dashboard which links out to:
- Note capture mode
- Synthesis mode
- Findings mode
Project settings
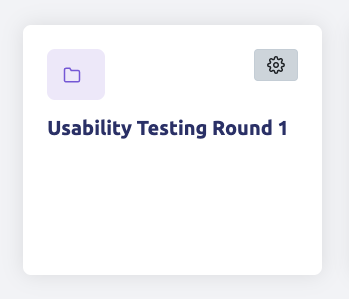
Each project has a few settings you can configure. To access project settings, navigate to your organization's home screen and click on the setting button in the top right corner of the project you want to access the settings of.
Project name
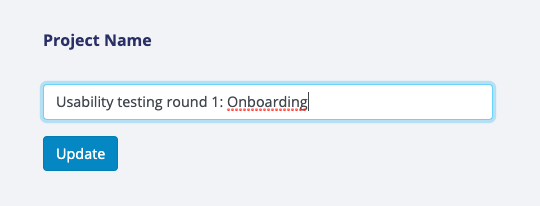
Once in project settings, you can rename your project, by changing it in the project name field and clicking the ‘update' button
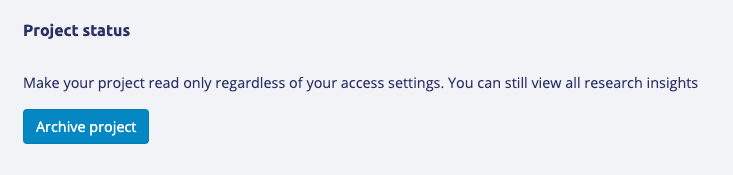
Archiving a project
Depending on your plan, you may hit your project number limit. You can archive old projects to free up space for new ones.
Once in project settings, click the ‘archive project’ button to archive your project
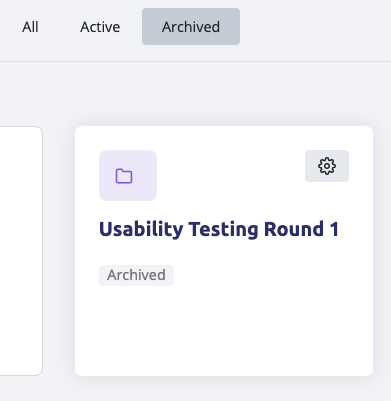
To view an archived project, navigate to your organisation’s home screen and use the project status filters, selecting either “archived” or “all”. Projects will show a status indicator when they are archived.
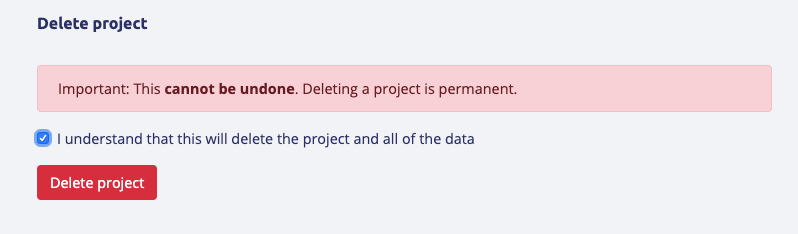
Deleting a project
Once you have navigated to the project settings page, scroll to the bottom and click the “I understand this will delete my project” checkbox, then click the ‘delete project” button.
Then click the “delete” button on the confirmation pop up when it appears.
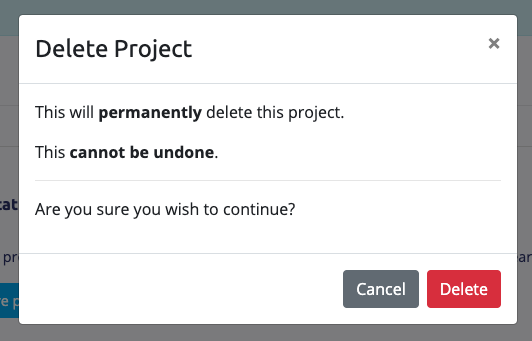
This will delete your project and all associated data. Once deleted, data will not be recoverable.
Back to help center